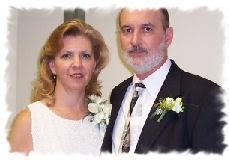
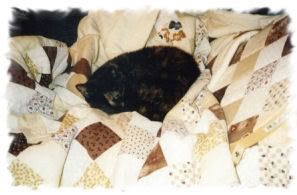
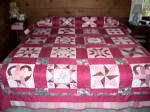
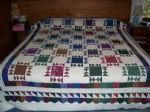
Jeannie has been sewing for over 30 years. She loves to quilt, and she loves her cats! She's combined her two loves and created the The Contented Kitty where she sells her beautiful array of quilts. You will find in her shoppe, wheelchair quilts, kitty quilts, canine cuddlers, pillows, neck pillows and beautiful quilted sweatshirt jackets.
Jeannie also makes beautiful curtains, swags and balloon curtains. To see her curtain gallery, click here.
Jeannie shares with us these instructions that she uses for making a tied quilt. Thank you Jeannie!
Tied Quilt
You will have 3 layers - your top layer, middle layer which is your batting, and bottom layer which is your backing.
Place the backing layer down, wrong side facing you.
Place batting on this layer.
Place top layer down on top of batting, right side facing you.
Using big quilters pins, pin these layers together.
Using either yarn or 6 strand embroidery floss, tie about every six inches or so. A regular knot will work fine.
Then cut strips of fabric 2.5" wide by the width of the fabric (usually 42-45"). Sew these together until you have a very long piece 2.5" wide, times the length all around your quilt.
Machine sew this "binding" onto the quilt right sides together. Fold over, turn under, and sew. I like to hand sew this part so the stitching doesn't show on the right side of the quilt.
I have never mastered a nice corner, so I just sew 4 different binding pieces, one to each side of the quilt. I like to do the sides first, then the ends.
Have fun with it!
technorati tags: blogging , webblogs , online shopping , primitives , prim decor , country crafts , crafts , hobbies , Shopping , decor , Creativity , Internet , Advertising , Christmas, Holiday, gifts, presents,
Posted by: Neenee, contributing editor


No comments:
Post a Comment